A basic farmhouse table plan looks simple on paper: a tabletop, an apron, four legs, some pocket holes. Then you price out the lumber, realize you don’t own a planer, and the “weekend project” turns into three weekends and a trip back to the hardware store for clamps you didn’t know you needed.
That’s not a knock on the plans themselves. Sites like Ana White, Kreg Tool, and Woodshop Diaries publish solid, free, step-by-step instructions. The gap is what those pages don’t spend much time on: the real cost, the real time commitment, and what trips up people building their first table.
A farmhouse dining table plan is a set of measurements and steps for building a rectangular wood table with a thick top and a simple, exposed leg or trestle base, usually using construction lumber and pocket-hole joinery. Most beginner plans call for 2x lumber (2x4s, 2x6s, sometimes 4x4 legs), a pocket hole jig, wood glue, and screws, with total build time ranging from a weekend to several weekends depending on your tool setup and finishing choices. For people who want the look without the tool investment, ready-made solid wood farmhouse tables are also widely available.
What a Typical Plan Actually Asks You to Buy
Most free plans (Ana White’s pocket-hole farmhouse table is the one that gets referenced most often) use construction-grade pine: 2x6s and 2x4s for the top and apron, with 4x4 posts for legs. That’s a deliberate choice. Construction lumber is cheap and available at any home center, but it’s not furniture-grade, so it comes with more knots, warping, and inconsistent moisture content than hardwood.
Here’s roughly what goes into a standard 6 to 8 foot table:
| Item | Typical Role | Rough Cost Range* |
|---|---|---|
| 2x6 or 2x8 pine boards (tabletop) | Table surface, glued edge to edge | $60 to $120 |
| 2x4 pine (apron, base) | Structural frame under the top | $30 to $60 |
| 4x4 posts (legs) | Legs or trestle uprights | $25 to $50 |
| Pocket hole screws, wood glue | Joinery | $15 to $25 |
| Wood filler, sandpaper | Prep before finishing | $10 to $20 |
| Stain and polyurethane or sealant | Finish | $30 to $60 |
*These are approximate ranges based on general 2027 pricing patterns for construction-grade pine at U.S. home centers (roughly $2.50 to $4.00 per board foot retail), not a quote from any specific supplier. Prices swing by region and by lumber market conditions, so treat this as a planning range, not a fixed number.
Add it up and most first-time builders land somewhere between $150 and $350 in materials for a basic pine table, which lines up with what Ana White’s own plan notes (its listed range is around $100 to $200 for materials, though that assumes you’re not replacing any lumber due to warping or bad cuts). If you upgrade to a hardwood top like oak or walnut, or hire out any part of the work, that number climbs fast, sometimes past what a finished table costs to buy outright.
Tools You Need (and Which Ones You Can’t Skip)
Every popular plan assumes a baseline tool kit. Some of this you can rent or borrow, but there’s no version of this build that skips all of it.
- Circular saw or miter saw for cutting boards to length
- Pocket hole jig (a Kreg jig is the standard reference in almost every plan) for joining the apron and legs without visible bolts
- Drill/driver for pocket screws and assembly
- Clamps (several, not one) for holding glued boards flat while they cure
- Random orbital sander plus sandpaper in a few grits
- Wood glue, wood filler, tape measure, square
- Stain, sealant or polyurethane, brushes or rags
If you already own a drill and a saw, a pocket hole jig and a decent set of clamps are usually the actual new purchases, and together those often run $60 to $150 depending on quality. That’s a one-time cost if you plan to build more furniture, but it’s a sunk cost if this is a one-off project.
How Much Time It Really Takes
Plans usually describe steps, not hours, so here’s the honest breakdown based on what the build actually involves:
- Planning and shopping: 1 to 2 hours picking lumber, checking boards for straightness and bad warps at the store.
- Cutting and joinery: 3 to 5 hours cutting to length, drilling pocket holes, dry-fitting the base.
- Glue-up and assembly: 2 to 4 hours, plus 24 hours of clamp/cure time you can’t rush.
- Sanding: 1 to 3 hours, more if the lumber has rough spots or you’re smoothing out glue squeeze-out.
- Finishing: 2 to 4 hours of stain and sealant application, spread across 2 to 3 days because coats need drying time between passes.
Total hands-on time for a first build is commonly 10 to 20 hours, spread across one to three weekends once you count dry time for glue and finish. Experienced builders move faster. First-timers almost always move slower than the plan’s “weekend project” framing suggests, mostly because of drying time they didn’t plan around.
Where First-Time Builds Go Wrong
The plans themselves are usually fine. The mistakes tend to cluster in a few predictable places.
Warped or twisted boards. Construction lumber isn’t kiln-dried to furniture standards, so boards can bow or twist after you get them home, even if they looked straight at the store. Sight down each board before buying and reject anything with visible curve.
Skipping the acclimation period. Wood shifts as it adjusts to your home’s humidity. Builders who cut and glue lumber the same day they buy it sometimes see gaps or warping a few weeks later. Letting lumber sit inside for a few days first reduces that risk.
Underestimating glue-up clamping. A tabletop glued from several boards needs even clamping pressure across the whole width, or the boards cup instead of lying flat. This is the single most common reason first tabletops end up uneven.
Rushing the finish. Stain applied over sanding dust, or a second poly coat applied before the first one cures, is the most common reason a finish looks blotchy or tacky months later.
Underestimating total cost once mistakes happen. A miscut leg or a split board means a return trip and more lumber. Budget a buffer of 10 to 20 percent above your initial materials estimate for this reason.
None of this means the project is a bad idea. It means the “simple weekend build” framing common on plan sites undersells what a clean result actually requires from a first-time builder.
DIY vs. Buying: A Straight Comparison
| Factor | Building from Plans | Buying Ready-Made |
|---|---|---|
| Upfront cost | ~$150 to $350 in materials (pine), plus tools if you don’t own them | Fixed price, no surprise costs |
| Time investment | 10 to 20+ hours across multiple days | None, arrives assembled or minimal assembly |
| Skill required | Basic to intermediate woodworking | None |
| Risk of mistakes | Real (warping, uneven glue-up, finish issues) | None, quality is set before it ships |
| Customization | Full control over size, wood, finish | Limited to available styles and finishes |
| Result if things go wrong | Wasted material, redo work | Return/warranty process |
If the appeal is the process itself, building from a plan is worth it regardless of the math. If the goal is just having a solid farmhouse table in your dining room, buying one skips the tool purchases, the learning curve, and the weekends of drying time entirely.
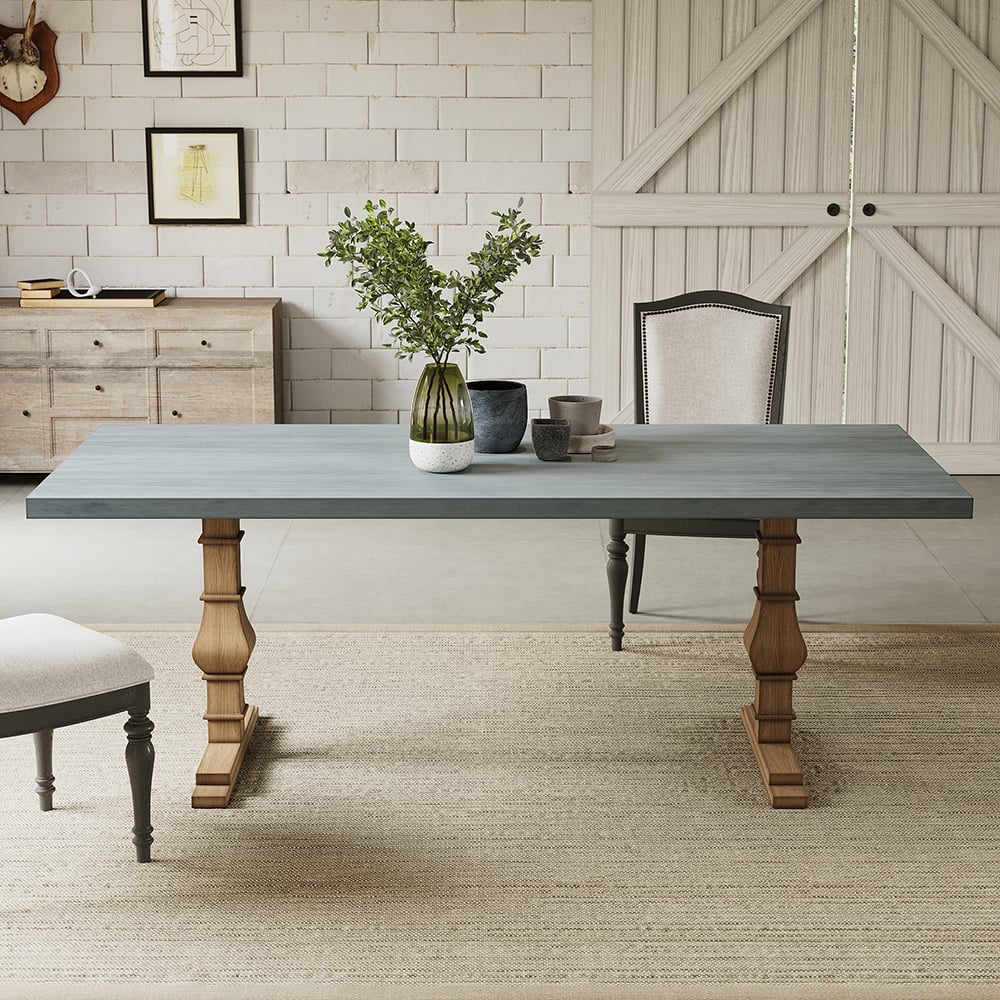
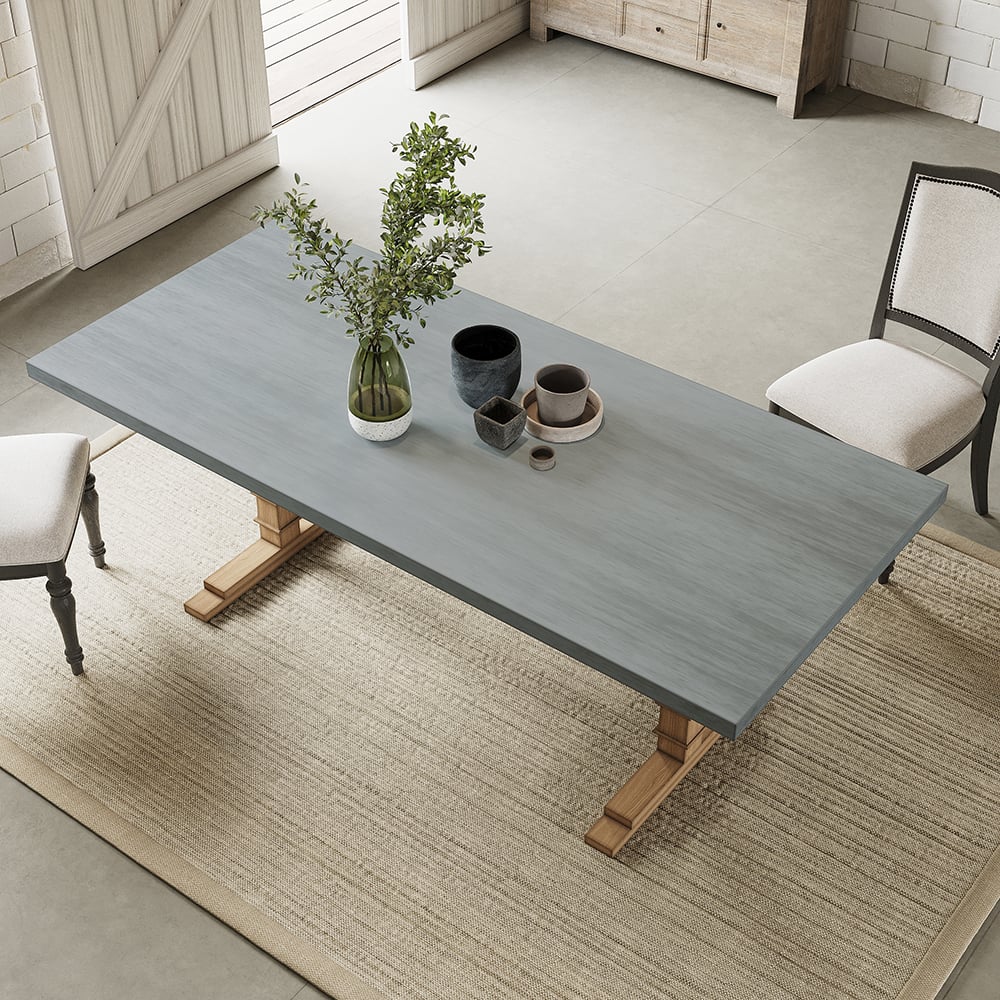
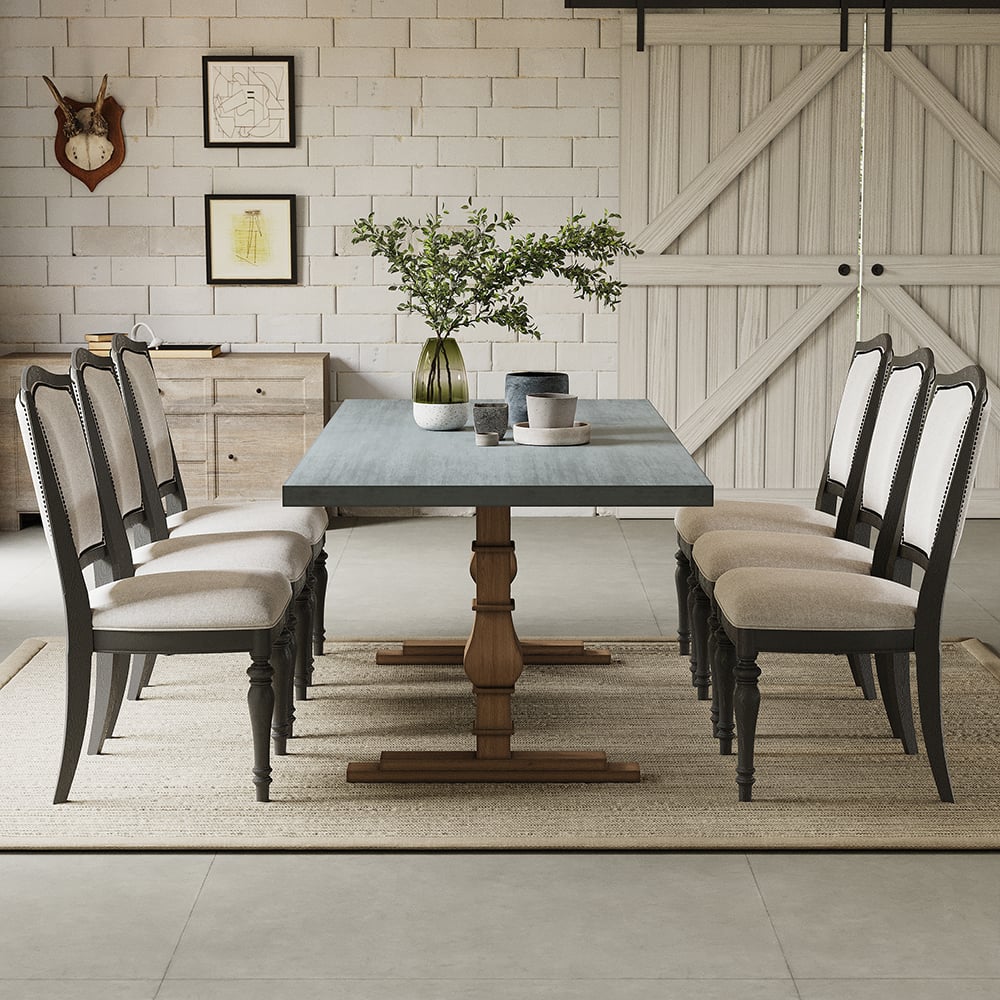
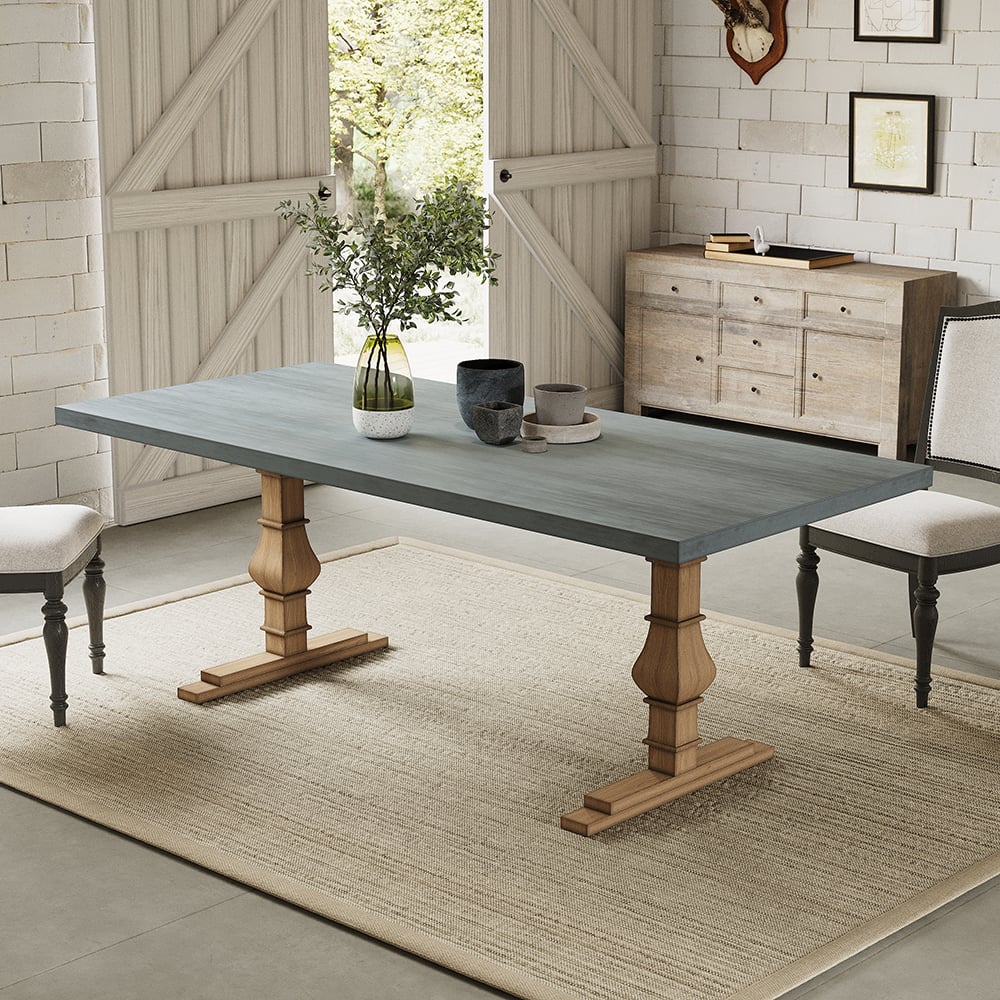
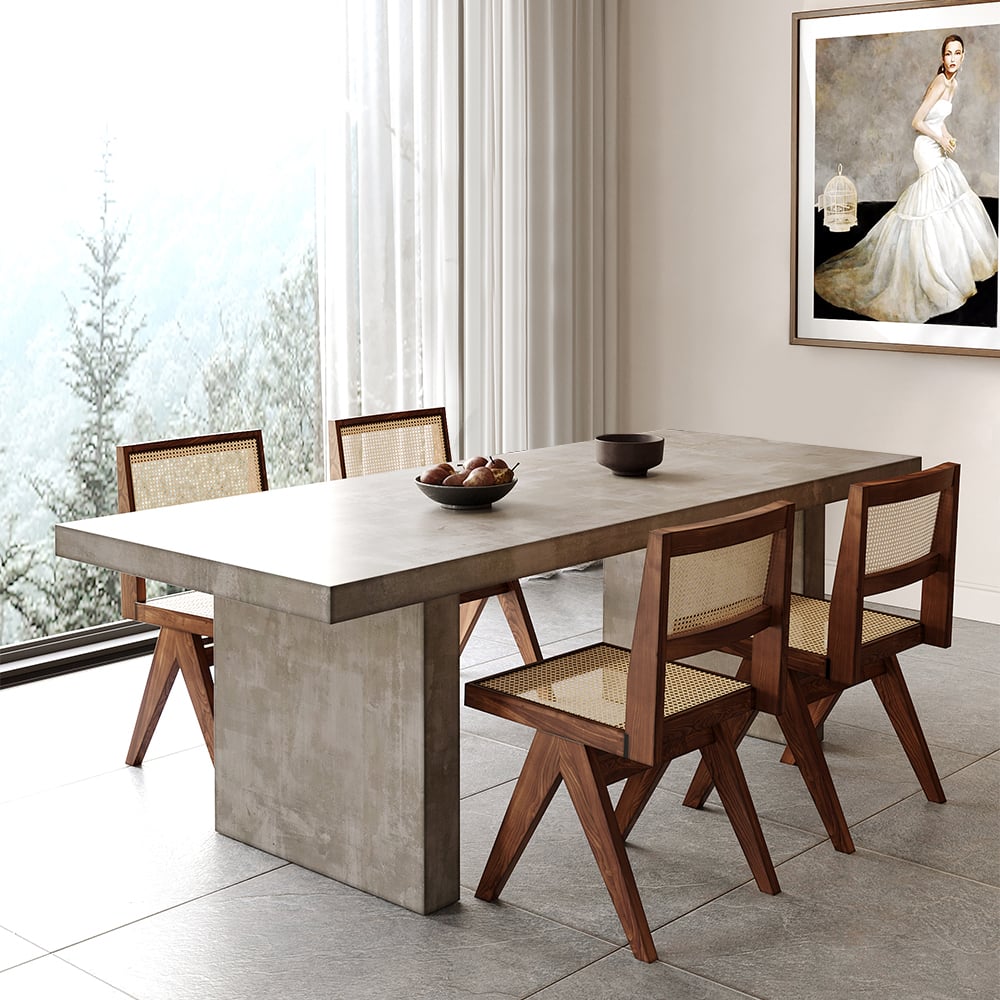
Homary’s 70.9” Farmhouse Style Rectangle Wood Dining Table is a useful budget comparison point here. It’s solid wood, seats 6 to 8, and is currently listed at $399.99 (down from $739.99), with a 4.9 star rating from 8 reviews. That price sits close to or only somewhat above what a DIY pine build in the $150 to $350 range would cost in materials alone, without factoring in your own time or any tool purchases.
For a smaller table with more design presence, the Upoak Series Farmhouse Rectangle Wood Dining Table seats 4 to 6, has a double pedestal base, and is priced at $1,159.99 with a 4.9 star rating from 36 reviews. It’s a step up in finish quality and price from a basic DIY build, positioned closer to what a hardwood, professionally finished custom table would cost.
Key Takeaways
- A basic farmhouse table build typically runs $150 to $350 in pine materials, plus $60 to $150 in tools if you’re starting from scratch, and these are planning ranges, not fixed quotes.
- Expect 10 to 20 hours of hands-on work spread across one to three weekends once glue-drying and finish-curing time are counted in.
- The most common first-timer mistakes are warped lumber, rushed glue-ups, and finishes applied before earlier coats fully cured.
- If the cost and time math lands close to a ready-made option like Homary’s $399.99 farmhouse table, buying isn’t a compromise, it’s just the faster path to the same result.
Whichever way you go, measure your dining space first. A table that looks right in a plan’s photo can crowd a smaller room fast.
FAQ
How much does it cost to build a farmhouse dining table? Most basic pine builds run $150 to $350 in materials, based on general construction lumber pricing patterns. Add $60 to $150 if you need to buy a pocket hole jig and clamps. Costs rise significantly if you switch to hardwood like oak or walnut.
What tools do I need to build a farmhouse table? The core list is a circular or miter saw, a pocket hole jig, a drill, several clamps, a random orbital sander, and basic finishing supplies like stain and sealant. Most beginner plans are built around pocket-hole joinery specifically because it doesn’t require advanced tools.
How long does it take to build a farmhouse table? Hands-on work is usually 10 to 20 hours for a first-time builder, but the full project stretches across one to three weekends because glue and finish coats need drying time between steps.
What wood is best for a DIY farmhouse table? Construction-grade pine (2x6s and 2x4s) is the standard choice in most free plans because it’s affordable and easy to find. Hardwoods like oak or maple cost more and are heavier to work with, but hold up better to daily wear.
Do I need a pocket hole jig to build a farmhouse table? Not strictly, but almost every popular free plan is designed around one because it lets you join boards without visible screws or complicated joinery. Without one, you’d need to switch to mortise and tenon or lap joints, which require more skill and different tools.
Is a farmhouse table hard to build for a beginner? The individual steps are beginner-friendly, but getting a flat, even result takes some experience with clamping and finishing. Most first-time builders report the build takes longer than plans suggest, mainly due to drying and curing time.
What’s the most common mistake when building a farmhouse table? Uneven clamping during the tabletop glue-up is the most frequent issue, since it can leave boards cupped instead of flat. Using warped lumber without checking it first is a close second.
Is it cheaper to build or buy a farmhouse dining table? It depends on the finish level you’re comparing. A basic pine DIY build can come in cheaper than some ready-made tables, but once you factor in tool purchases and your own time, the cost gap narrows or disappears against budget-priced solid wood options.
Can I build a farmhouse table without power tools? It’s possible with hand tools, but it will take significantly longer and require more skill, especially for cutting boards square and drilling clean joinery holes. Nearly every widely used plan assumes at least a drill and a saw.
What size should a farmhouse dining table be? A common range is 60 to 78 inches long for tables seating 6, with 84 inches or more for 8 seats. Measure your dining space and leave at least 36 inches of clearance around the table for chairs to pull out comfortably.